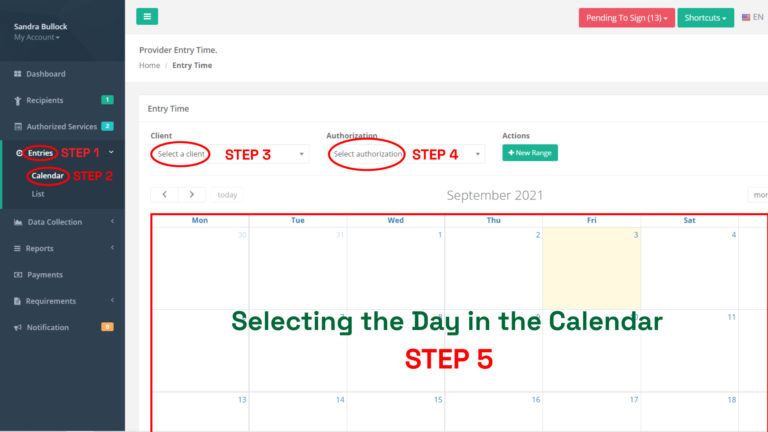
Step 1 y 2- In the Main Menu on the left click on ENTRIES and then under CALENDAR.
Step 3 y 4- In the ENTRY TIME section, click CLIENT and AUTHORIZATION. In the first, you will select the client and in the second the authorization.
Step 5- Click on a blank space within the box for the day you performed the service.
Fig. Step from 1 to 5.
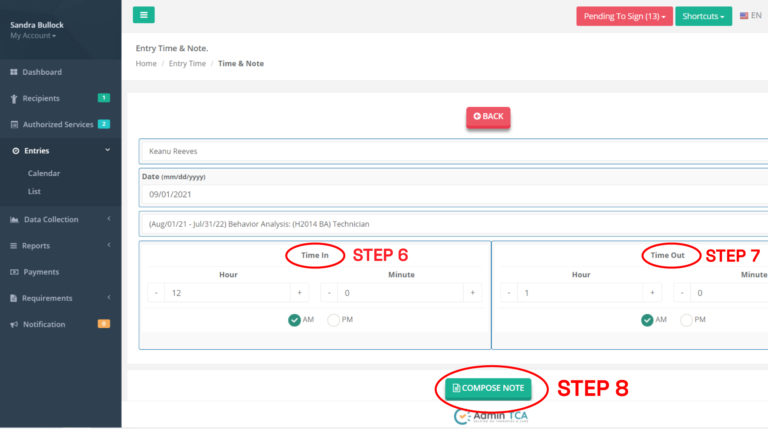
Step 6, 7 y 8- Select the start and end times of the service within the TIME IN and TIME OUT sections (don’t forget to adjust the AM and PM meridians). Click on the COMPOSE NOTE button.
Fig. Step from 6 to 8.
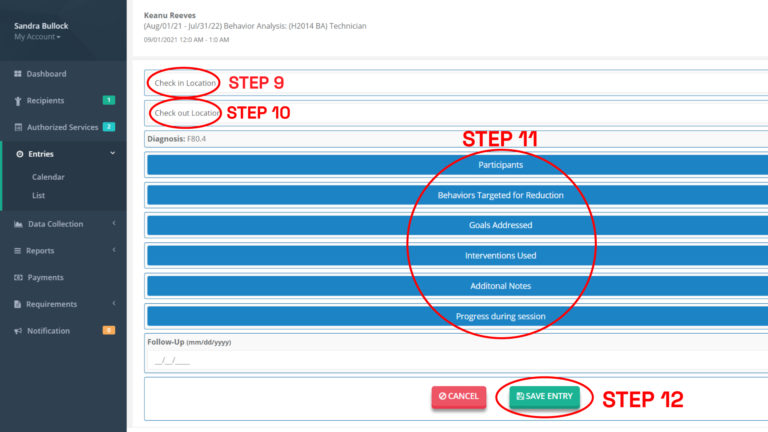
Step 9 y 10- Choose between the pre-selected data, in the CHECK-IN LOCATION and CHECK-OUT LOCATION boxes. Which will be the starting and ending places for the provision of the service, respectively.
Step 11- Click on the blue boxes and select the predefined texts (some you will add them in an editable box and others through their check box that will not be modifiable).
Step 12- Confirm that your details are correct and press the SAVE ENTRY button to conclude.